LVNAuth Tutorials - Trace Tool
The Trace Tool lets you convert a variable-width font sprite sheet to a fixed grid-size for each letter.
If you have a font sprite sheet that is monospaced, meaning the dimensions of the letters are all the same, then you don't need to use the Trace Tool. However, if you have a font sprite sheet with letters that have different widths/heights, then the Trace Tool can generate letter grids that are all the same size. When you use a font sprite sheet in your visual novel, LVNAuth will equally separate each grid into individual letters.
For example - take a look at these two letters:

The 'W' has a wider width than 'B'. You can tell by looking at the horizontal line above the letters.
Using the Trace Tool produces a result similar to this:

You'll notice how the two letters fit into rectangles that are exactly the same size as each another.
The rectangle for 'B' is the same size as the rectangle for 'W'.
So LVNAuth can now use these two letters because they can be split equally.
Click on 'Trace Tool' in the main toolbar at the top. Then, you should see a window similar to this:
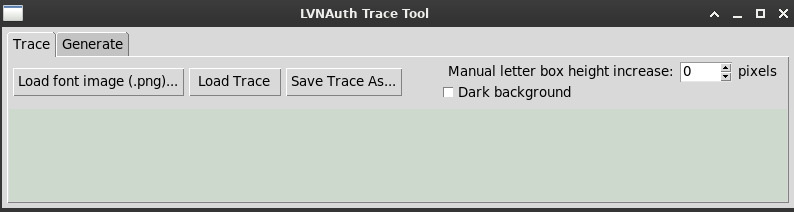
Click on 'Load font image (.png)...' and locate a png image font sprite sheet.
The font sprite sheet I loaded has light text, so I clicked on 'Dark background' to make it easier to see the text.
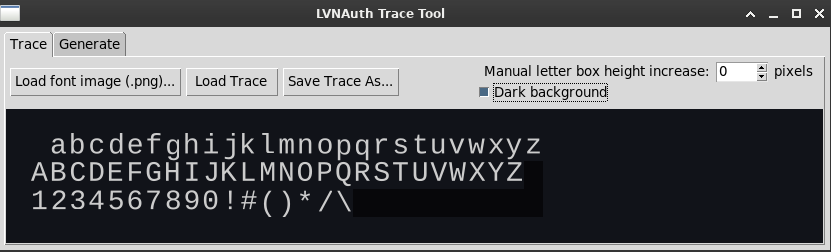
The problem with the font sprite sheet that I opened is that the spacing of the letters are not all the same size. The spacing between 'a b' is different than the spacing between '0 !'. LVNAuth expects all letters to be grided with the same size grids. To make this happen, first we need to trace the letters.
You should now see a small square or rectangle on the letter you clicked on.
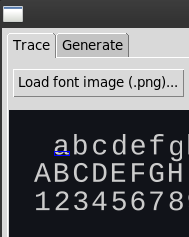
Notice the blue rectangle on the letter 'a'. When it's blue, it means the rectangle is highlighted. If you click away from the rectangle, the color will change to let you know that it's no longer highlighted. To highlight the rectangle again, simply click on it.
When the rectangle is blue, use the arrow keys on your keyboard to resize the rectangle. Keep adjusting the rectangle with the arrow keys until the letter is fully enclosed in the rectangle.
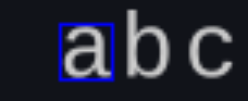
Tip: I recommend using a screen magnifier to make it easier to see letters' edges.
Now click on the next letter and resize the rectangle to fit the second letter. Keep repeating until all the letters have their own rectangle. If you make a mistake when resizing a rectangle, press the Delete key on your keyboard to delete a rectangle and then try again.
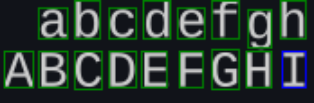
Now double-click the letters and specify the line numbers for each of them. In the example screenshot above, the lowercase letters are on line 1 and the uppercase letters are on line 2.
Here is an example of what I get when I double click on the lowercase 'a'.
I changed the line number to 1. By default, it will be set to Line number 1.
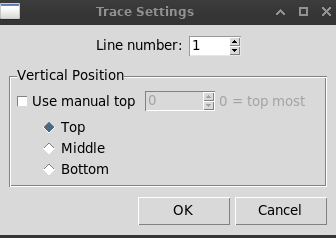
After you've specified the line numbers for each letter, the preview of the generated font sprite sheet will be on the bottom of the window.
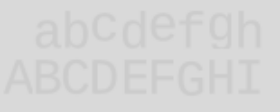
In my example, it generated a font sprite sheet that looks like this:
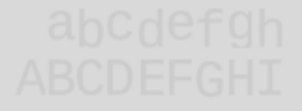
Notice that it doesn't look perfect. The 'lowercase 'a' is higher than 'b' but the capital letters mostly look OK. If your font sprite sheet ends up with letters that are too high and too low, double-click the letter that looks off and change the vertical positioning of that letter.
If I double-click the lowercase letter, 'a', I get this:
So now I'm going to try changing the vertical position of the letter 'a' to Middle to see if that looks better.
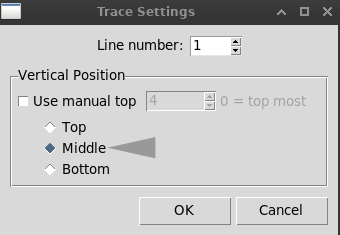
After I click OK, the 'a' looks better in the generated font sprite sheet. It's perfectly aligned with the 'b' next to it.
Keep repeating by fixing the vertical alignment of letters that look off. Either choose 'Top', 'Middle', 'or 'Bottom'. If neither one of those 3 vertical options works for a letter, you can manually set the vertical position by checking the checkbox, 'Use manual top', and then experiment with a manual value.
Use the guide line to help position the bottom of the letters. This helps to ensure all characters sit perfectly on the same baseline. It acts as a ruler.
Once you're done, you should have something like this:
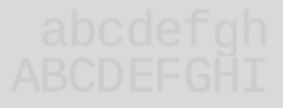
In the example screenshot, I only made it up to the letter 'I', but yours should go all the way to the letter 'Z' and also include punctuation characters, such as a comma, period, exclamation mark, question mark, etc.
As you are tracing the letters, a preview for the final font spritesheet will be at the bottom of the window.
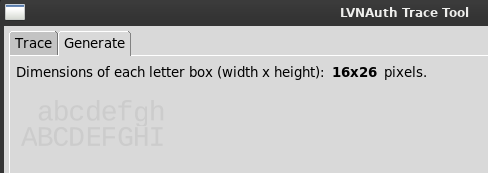
In my example, the dimensions are 17x28 pixels. You will need these dimensions because LVNAuth will ask. When you click on 'Save Image As...' to save the font sprite sheet, it's a good idea to include the dimensions in the file name. For example: 'font_sprite_sheet_17x28.png'
You can optionally save the rectangle traces, so that you can re-open your Trace Tool project later on if needed. Click on 'Save Trace As...'. This will allow you to save your rectangle traces. Traces can be loaded back by clicking the button, 'Load Trace'.
Now that you have a font sprite sheet png file generated, we can load it into LVNAuth. Open LVNAuth and in the Font Sprites tab, click 'Add Image...'
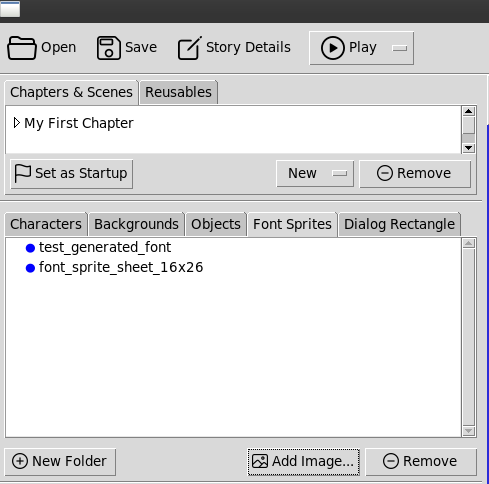
You'll see a pop-up window that will ask for the dimensions of the letter grids.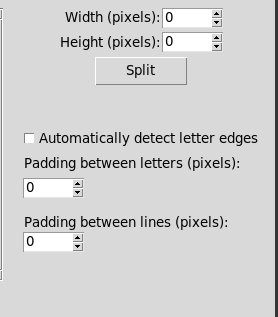
By default, it's set to 0 width and 0 height.
Remember when we said that you'll need the dimensions? This is where you need them. My font sprite sheet letter grids are 17x28 (17 width, 28 height), so I'm going to type that in here and then click the Split button. You should type the dimensions for your font sprite sheet, and then click the Split button.
After splitting the image, you should see results similar to this (although yours should go all the way to the letter Z).
Notice how each letter was split equally. This means LVNAuth now knows where each letter is located in the font sprite sheet image.
Under each letter, there is a textbox where you can type something. Type in the letter of the image. For example, under the 'a', type in a
The very first blank character is a space, which is automatically generated by the Trace Tool. So under the first blank character, type a single space.
Type the letter for each image in its textbox.

Last updated: Thu 14 May 2026